

measurements
About This Project
Ready to elevate your staircase but feeling unsure how to get the measurements just right? Achieving a professional, DIY-friendly result starts with accurate numbers. Since most staircases have slight variations from step to step, measuring each one individually is the key to ensuring your new treads provide a perfect, custom-made to fit look that brings both safety and style to your home.
Steps

Step 1: Count Your Steps & Gather Your Tools
5 minutesStart by counting the number of horizontal surfaces you step on—these are your treads. (A fun fact: you'll always have one more vertical riser than you have treads). With your count complete, gather your tools for success: a rigid tape measure for accurate readings, a carpenter's square to check for true 90-degree angles, a level, some masking tape for labeling, and a pencil and notebook.
Watch: Repeat Measurement and Cutting for All Stairs
Step 2: Measure Your Tread Depth (The Run)
3 minutesFor each individual step, place the end of your tape measure firmly against the vertical riser at the back. Extend the tape straight across the tread, going over the front edge or 'nosing'. It is crucial that your tape measure stays flat and level for an accurate reading. A critical safety note: Never measure over existing carpet or old flooring, as this will skew your numbers and prevent your new treads from fitting securely.
Watch: Measure and Mark Treads
Step 3: Determine Your Tread Width
3 minutesMeasure across the front of each tread, keeping the tape parallel to the back riser. If your stairs are enclosed by walls, measure from wall to wall. If the sides are open, measure the full width of the wooden step. To achieve a classic, designer look that beautifully frames your hardwood, we recommend leaving a small border. For example, a 36-inch wide stair looks fantastic with a 34-inch tread, leaving a 1-inch border on each side.
Watch: Measure Stair Tread Width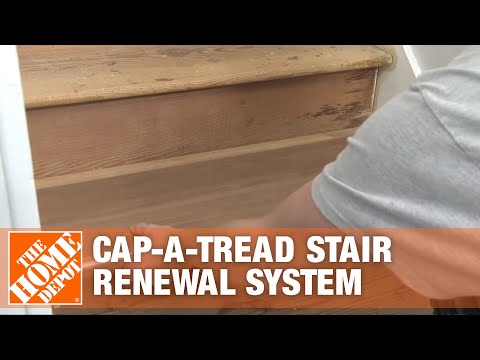
Step 4: Record, Label, and Double-Check
10 minutesIn your notebook, write down the width and depth for every single step. It’s very common for older homes to have slight differences between stairs, so if you find any, use a piece of masking tape to label that specific step with a number corresponding to your notes. For custom orders, taking a quick photo of your tape measure on the step is a fantastic visual aid. Remember the carpenter's rule: measure twice, cut once. In our case, it's measure twice for a perfect, one-time order!
Watch: Measure Treads and Mark Laminate