
Stair Tread Installation
About This Project
Are you ready to elevate your staircase with beautiful, solid wood treads? This guide is designed to empower you with the confidence to tackle this rewarding DIY stair remodel. We'll walk you through a professional-quality installation, from achieving precise measurements for that custom-made-to-fit feel to securing your new treads for lasting durability. Our goal is to help you bring warmth and elegance to your home, one step at a time.
Tools & Materials

Oak Valley Tailored Square - Tread

Oak Valley Island Stripe - Tread
Oak Valley Tailored Square - Tread
Treads
Oak Valley Island Stripe - Tread
Treads
Steps
Measure for a Perfect Fit
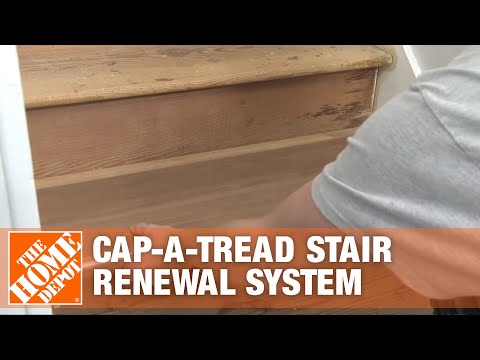
15 minutesBegin by carefully measuring the width of your current stair tread from one side to the other. Next, measure the depth from the front edge—what we call the 'nosing'—to the very back where it meets the riser. It's also crucial to note the depth of any existing overhang. These precise measurements are your blueprint for success.
Watch: Measure Treads and Mark Laminate
Create a Template for Precision (Optional but Recommended)
30 minutesTo guarantee an exact match, you can create a simple template using heavy paper, cardboard, or a thin piece of plywood. Trace the complete shape of your existing tread, paying close attention to the curve of the bullnose and any unique angles. This template will be an invaluable guide when preparing your new tread.
Watch: Create Custom Tread Templates
Inspect and Prepare Your New Tread
45 minutesExamine your new bullnose stair tread for any imperfections. If you made a template, lay it carefully over the new tread and mark any areas that need trimming. Use the appropriate tools to make precise adjustments, ensuring the new tread perfectly aligns with your measurements for that polished, design-conscious finish.
Watch: Test Fit and Adjust Treads
Perform a 'Dry Fit' Test
20 minutesThis is a key part of any successful DIY project. Place the prepared tread onto the stair without any adhesive to check its fit. Ensure it sits snugly against any walls and that the bullnose profile aligns correctly. Look for any gaps or tight spots. Making minor adjustments now is much easier and guarantees a perfect result.
Watch: Dry Fit Tread and Nosing
Apply Your Construction Adhesive
25 minutesOnce you're happy with the dry fit, it's time for the final installation. Apply a generous bead of high-quality wood or construction adhesive along the top of the stair riser and the subfloor. Also apply adhesive to the underside of the new tread, focusing on the edges and the bullnose curve for a strong hold. Ensure even coverage without letting it pool.
Watch: Apply Construction Adhesive
Set Your New Tread in Place
15 minutesGently place the new bullnose tread onto the adhesive-coated stair. Align it precisely with your marks and any adjacent walls. Press down firmly and evenly across the entire surface to create a strong bond. You can use a rubber mallet to gently tap the tread into its final position, ensuring it's fully and securely seated.
Watch: Position and Secure Tread
Reinforce for Maximum Stability (Optional but Recommended)
30 minutesTo provide extra stability, consider securing the new tread with screws or finish nails. If you can access the underside of the stairs, drive fasteners up into the tread. If working from the top, use a countersink bit to create pilot holes, drive your screws, and then fill the small holes with a matching wood putty for a clean, hidden finish.
Watch: Secure New Treads with Screws
Add the Finishing Touches
15 minutesWith your tread securely in place, it's time to clean up. Use a damp cloth to immediately wipe away any adhesive that squeezed out from under the edges. If you used putty to fill fastener holes, make sure it's smooth and flush with the tread's surface. Allow the adhesive to cure completely according to the manufacturer's directions for a safe, durable finish.
Watch: Final Inspection and Cleanup