

Stair Tread Measurement
About This Project
Ready to elevate your staircase? The first step in any easy DIY stair remodel is getting the measurements right. Achieving that perfect, custom-made fit is simpler than you think, and it's the secret to ensuring both safety and style. This guide will walk you through measuring each step's width and depth, because even in newer homes, slight variations can exist. Taking a few moments to measure carefully guarantees your new treads will look like they were always meant to be there.
Steps
Step 1: Determine Your Tread Depth
5 minutesUsing a rigid tape measure, press one end firmly against the vertical panel at the back of the step (this is called the 'riser'). Extend the tape straight across the flat part of the step and over the rounded front edge, known as the 'nosing'. For a perfect fit, it's crucial that your measurement captures the bare wood only. Be sure not to measure over old paint drips, leftover adhesive, or remnants of old carpet, as this can throw off the final fit. Write down this depth measurement for your first step.

Step 2: Find Your Tread Width
5 minutesMeasure the width of your step from side to side, keeping the tape measure parallel to the back riser. If your stairs run between two walls, measure the full wall-to-wall distance. If one or both sides are open, simply measure the full width of the wood. A popular, design-conscious choice is to leave a small border of wood visible on each side of the carpet tread. For example, on a 36-inch wide stair, a 34-inch tread leaves a lovely 1-inch border on each side, framing the tread beautifully. Record this width measurement for the step.
Watch: Measure Stair Tread Width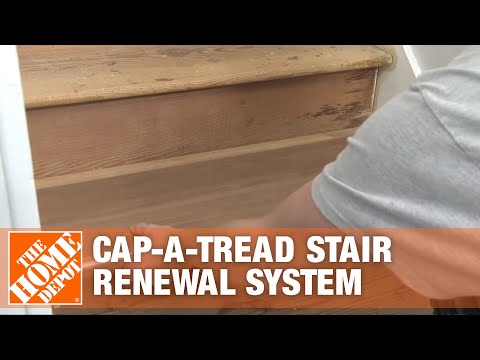
Step 3: Document and Double-Check Everything
10 minutesIn your notebook, create a simple list from top to bottom, recording the width and depth for each step. Don't be surprised if the numbers vary slightly—it's common, especially in older homes! If you find a step with unique dimensions, place a small piece of masking tape on its riser and number it to match your notes. This simple organization provides peace of mind. If you're ordering custom-made treads, taking a quick photo of each unique step with your notes can be incredibly helpful. Finally, take a moment to double-check all your numbers. A few extra seconds here ensures a flawless result you'll be proud of.
Watch: Measure Treads and Mark Laminate