

Stair Tread Installation
About This Project
Achieve a professional, custom-finished look on your winder stairs. This guide walks you through installing 3/4-inch hardwood flat treads and cove molding for a seamless, elegant result that elevates your staircase.
Tools & Materials

Oak Valley Tailored Square - Tread
Oak Valley Tailored Square - Tread
Treads
Steps

Peel to Reveal the Adhesive
2 minutesGently pull away the plastic liner on the back of your 3/4-inch hardwood tread. This simple action prepares the powerful, pressure-sensitive adhesive for a clean installation. No nails, no glue, no stress—just a perfect bond waiting to happen.
Watch: Prepare the Self-Adhesive Stair Tread
Position and Secure Your New Tread
3 minutesPlace the hardwood tread onto the desired step or landing, taking a moment to ensure it aligns perfectly with your layout plan. This is key for a polished look, especially on unique winder stairs. Once positioned, apply consistent, firm pressure across the entire tread. This ensures the adhesive makes full contact, giving you the peace of mind of a secure, stable surface that's built for everyday life.
Watch: Position and Secure Tread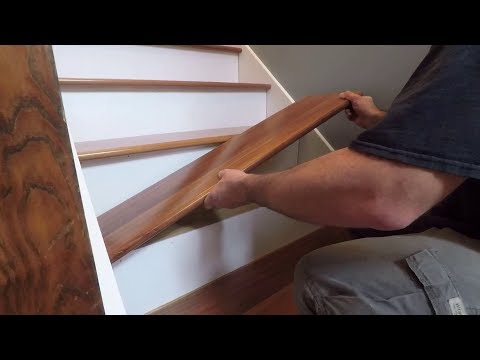
Add the Finishing Touch: Cove Molding
10 minutesTo elevate your staircase with that final, expert detail, measure and cut your cove molding to perfectly match the tread's profile. Securely attach the molding along the front edge. This not only conceals the raw edge of the tread but brings warmth and elegance to your home by creating a beautifully finished transition. Ensure it sits flush and is securely attached for a quality result.
Watch: Install Cove Molding